
Introduction
iPad Air 2 LCD removal is relatively easy to perform if you have some repair experience. Replacing requires transferring the home button, which is moderately difficult. The iPad Air 2 was a solid performer in its hey-day and still holds good value.
Proper attention should be given to safely loosening the adhesive strips with heat. Keep an eye out for the flex cable. So let’s get to it! Text directions are located below the video.
Tools Needed:
- Metal Spudger [BUY]
- Phillips Head Screwdriver #000 [BUY]
- Spudger [BUY]
- Guitar Pick
- Dehydrator, Heat gun, or Heat mat
Recommended: Magnetic mat [BUY], screw capsules [BUY]
General Repair Guidelines:
- Always use good lighting – smart device components are small and you’ll need plenty of light to see what you are doing.
- Maintain a clean, organized workspace so you don’t lose or confuse any components.
- Apply enough heat to loosen adhesive but not enough to damage the device.
- At any point during a repair, if the adhesive becomes hard to separate, apply more heat.
- After separating adhesive, keep the housing and screen in close proximity until flex cable is disconnected.
iPad Air 2 LCD Removal Steps
Click an image to enlarge
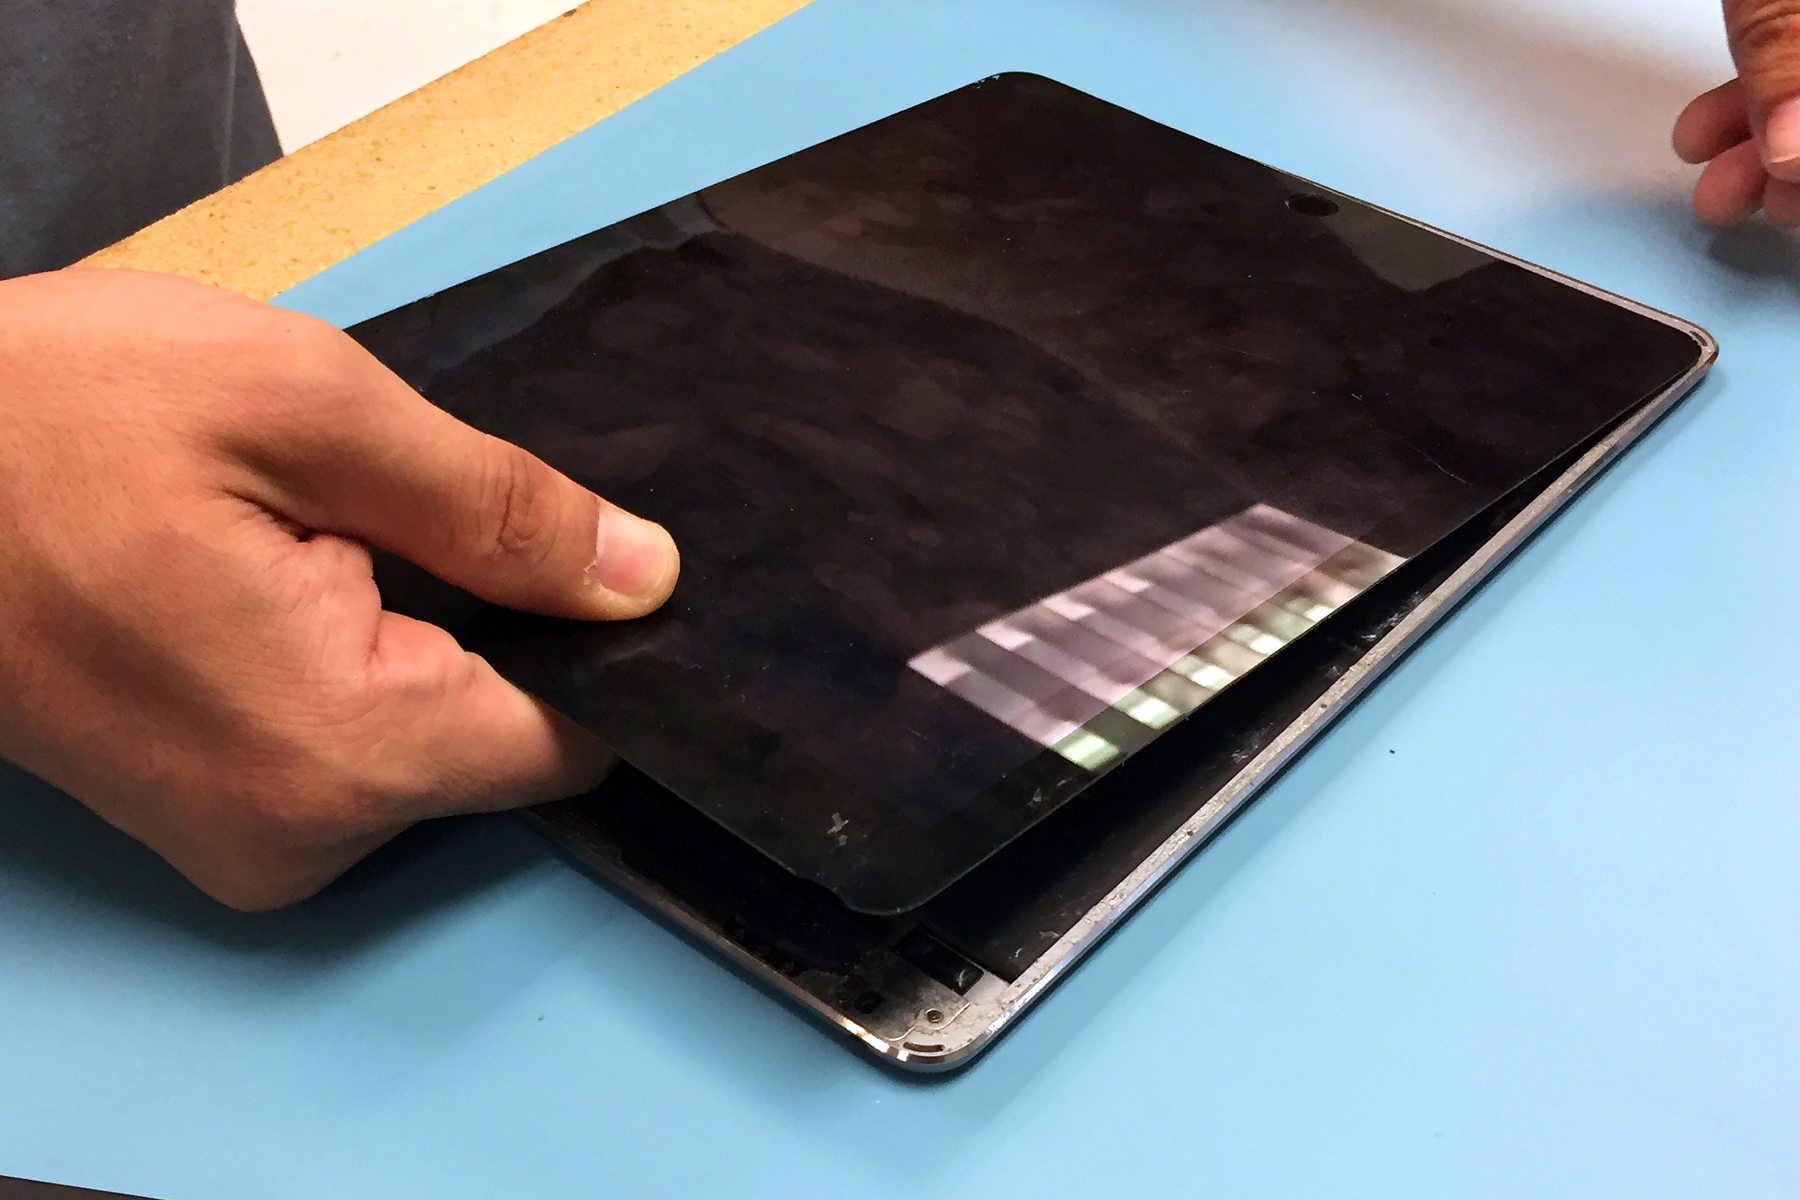
Heat up the device’s interior adhesive strips with a dehydrator, heat gun, or heat mat. Heat guns are the quickest, but use caution as it can be easy to overdo it and damage the device. Use the metal spudger to slowly and carefully separate the screen of the iPad from the body. Start on the bottom edge of the device and proceed slowly.


Continue using the metal spudger or use playing cards or guitar picks to gently separate the adhesive up the sides and top. Don’t push too deeply towards the center of the device.


The screen is connected via flex cable, so do not pull the LCD far from the body. Unscrew the screw connecting the battery to the logic board.


Slide a guitar pick between the connection to ensure no power travels from battery to logic board during repair.
Unscrew the screws holding the shield over the flex cable connections.
Disconnect the two flex cables connecting the LCD panel and the logic board.


Voila! You have removed the LCD assembly of the iPad Air 2. If you have a replacement LCD, just work through the steps in reverse. You will need to switch over the home button for touch ID functionality, which is considerably more challenging.
For Help, Repairs, or Parts
If you need parts or tools for this repair, or if this repair is too much to attempt on your own and you need a repair professional skilled at iPad Air 2 repair, contact iFixYouri at 888-494-4349 or www.ifixyouri.com.